Zoho OAuth Token
Table of Contents
Steps to Generate OAuth Token
- Step 1: Registering a Client
- Step 2: Making the Authorization Request
- Step 3: Generating Tokens
- Step 4: Refreshing your Access Tokens
Step 1: Registering a client
Before you get started with authorization and make any calls using the Zoho People APIs, you need to register your application with Zoho People.
To register,
- Go to Zoho Developer Console.
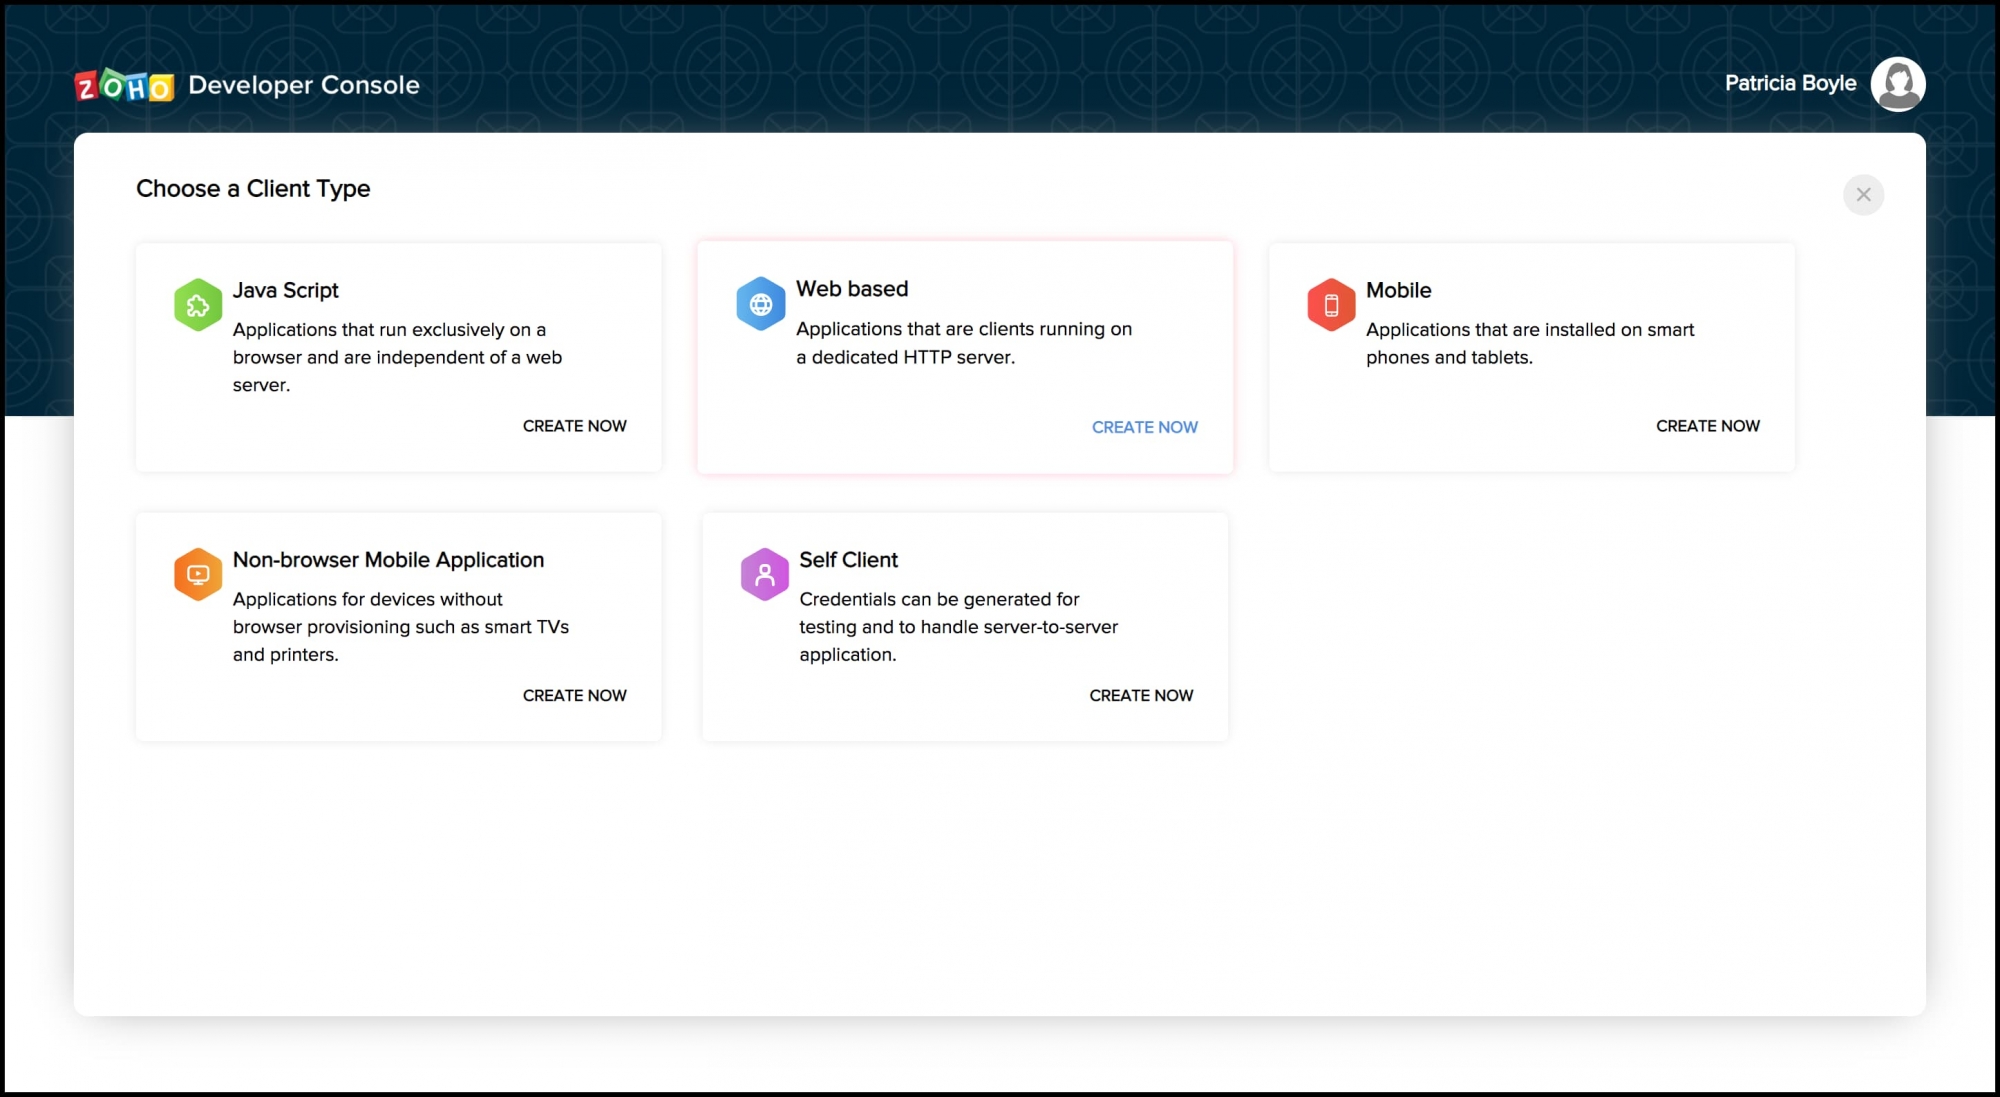
- Choose a client type:
- Java Script: Applications that run exclusively on a browser and are independent of a web server.
- Web Based: Applications that are clients running on a dedicated HTTP server.
- Mobile: Applications that are installed on smart phones and tablets.
- Non-browser Mobile Applications: Applications for devices without browser provisioning such as smart TVs and printers.
- Self Client: Stand-alone applications that perform only back-end jobs (without any manual intervention) like data sync.
For more details, refer to OAuth Overview.
- Enter the following details:
- Client Name: The name of your application you want to register with Zoho.
- Homepage URL: The URL of your web page.
- Authorized Redirect URIs: A valid URL of your application to which Zoho Accounts redirects you with a grant token(code) after successful authentication.
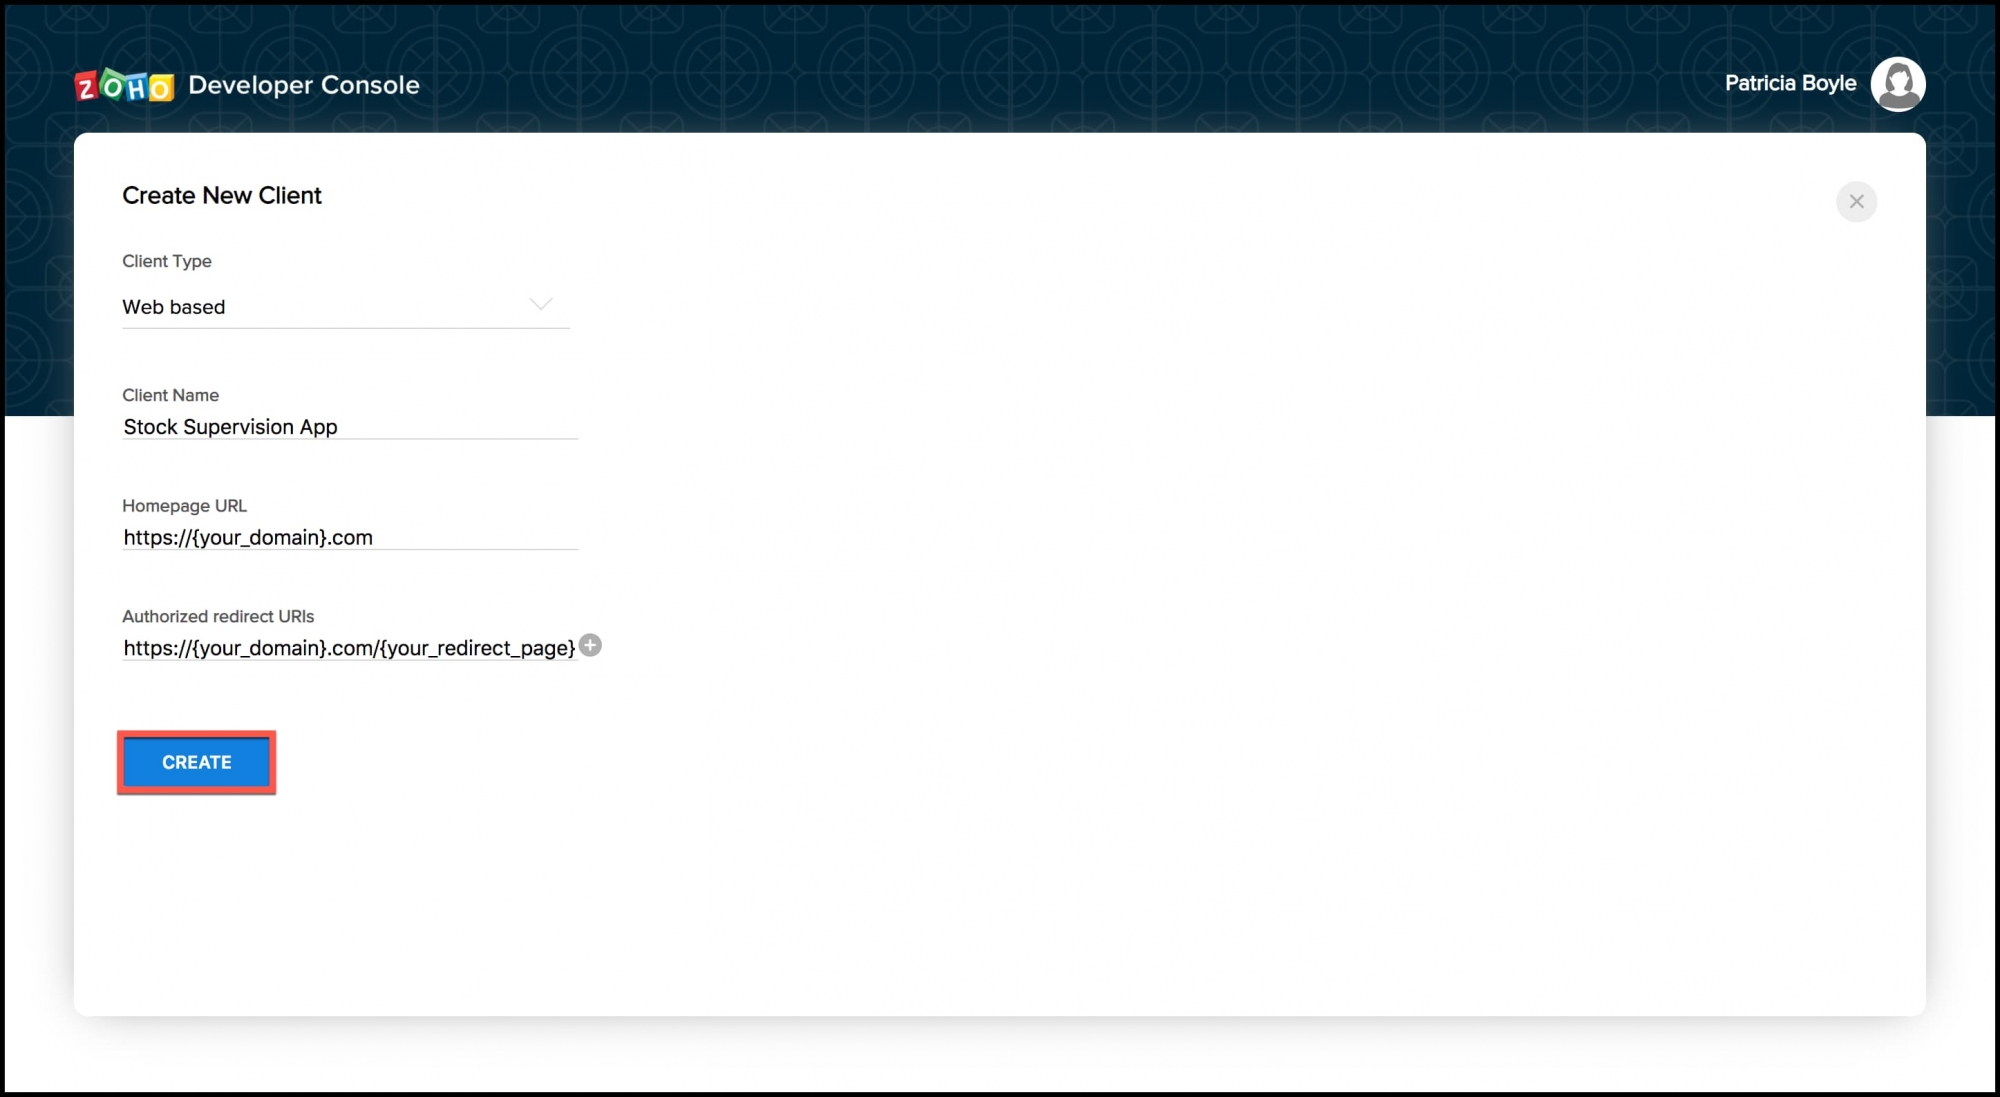
- Click CREATE
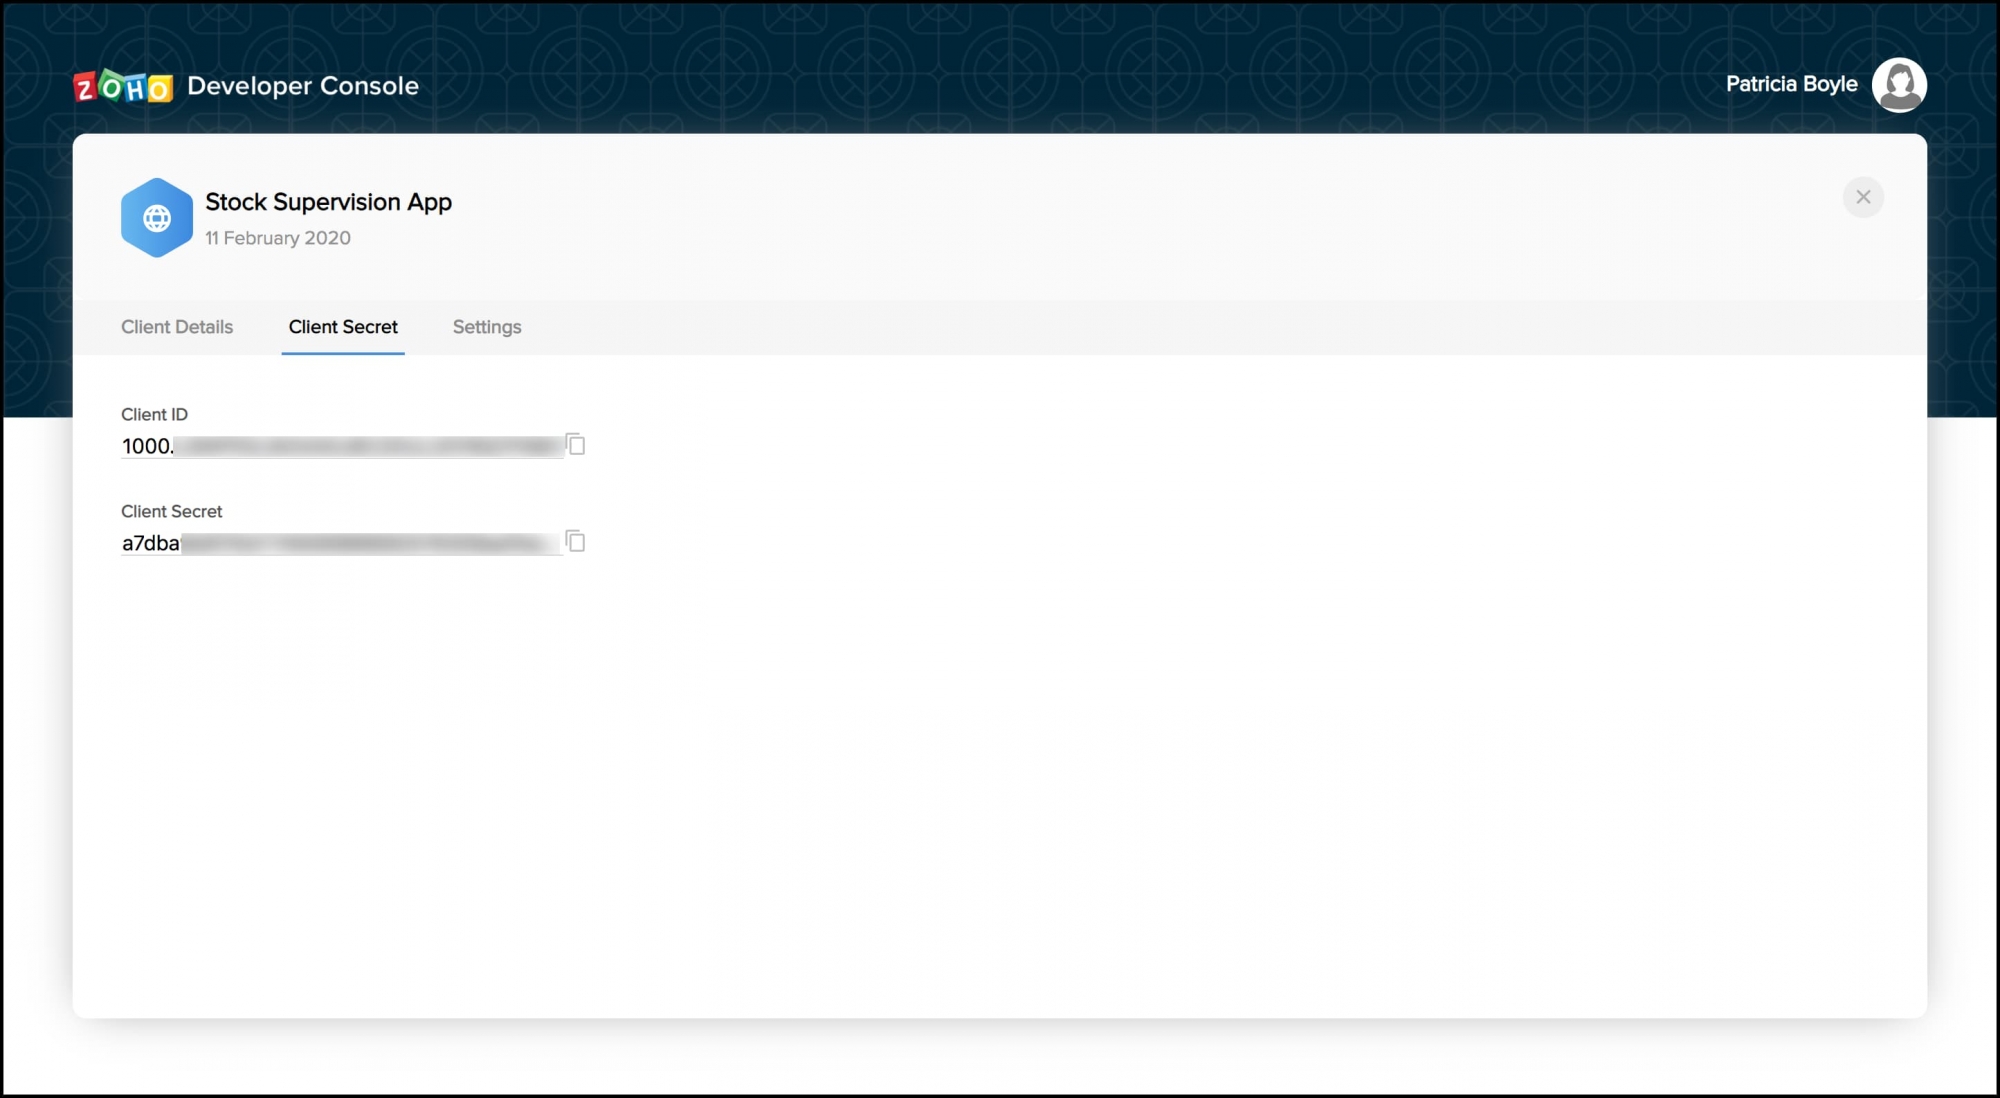
- You will receive the following credentials:
- Client ID: The consumer key generated from the connected app.
- Client Secret: The consumer secret generated from the connected app.
Possible Errors
Mandatory Entries for Different Client Types
The following are the mandatory entries for different client types.
| Client Type | Client Name | Homepage URL | Redirect URIs | JS Domains |
| Java Script | Y | Y | Y | Y |
| Web-based | Y | Y | Y | NA |
| Mobile | Y | Y | Y | NA |
| Self Client | N | N | N | NA |
| Device | Y | Y | N | NA |
Step 2: Authorization Request
To use the Zoho People APIs, the users must authenticate the application to make API calls on their behalf with an access token.
The access token, in return, must be obtained from a grant token (authorization code). The Zoho People APIs use the authorization code grant type to provide access to protected resources.
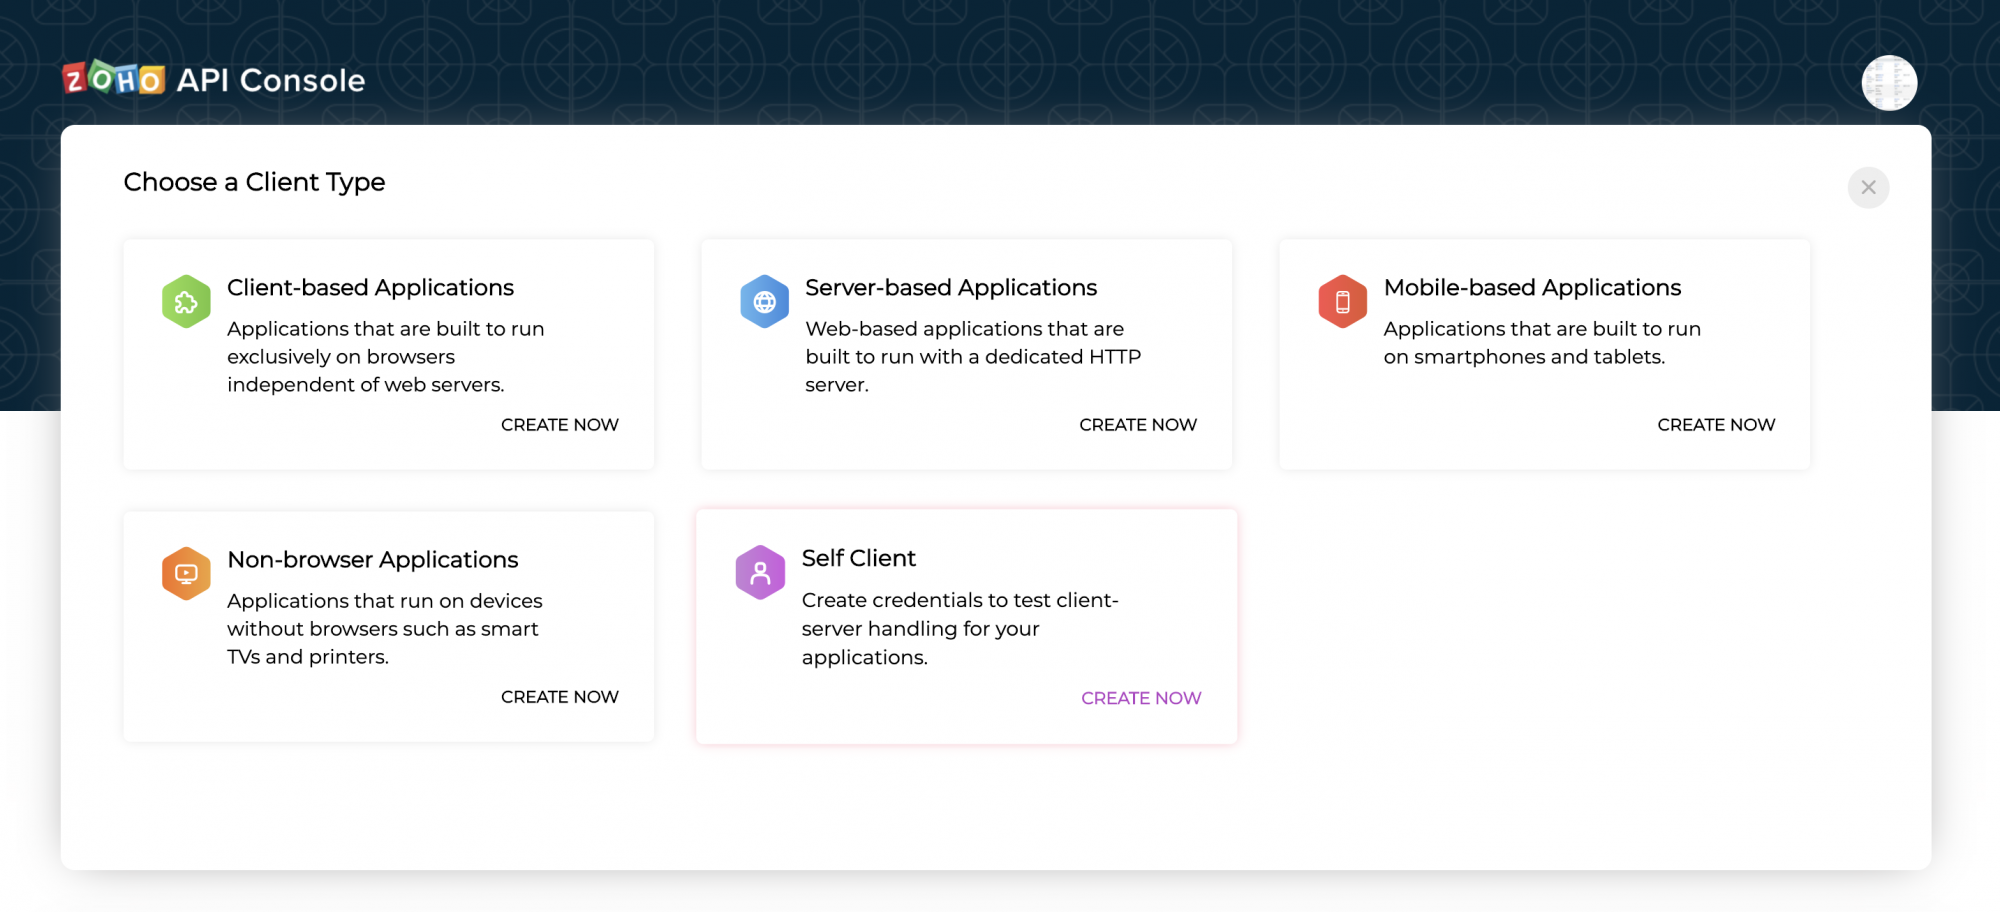
For Zoho People Application, there are two ways in which you can generate the grant token based on the client type.
- Server-based application
- Self-client
Server Based Application
Server-based applications are chosen when your application is used by multiple users and requires user intervention during authorization. For this client type, you must use redirection-based code generation.
Below is the authorization flow:
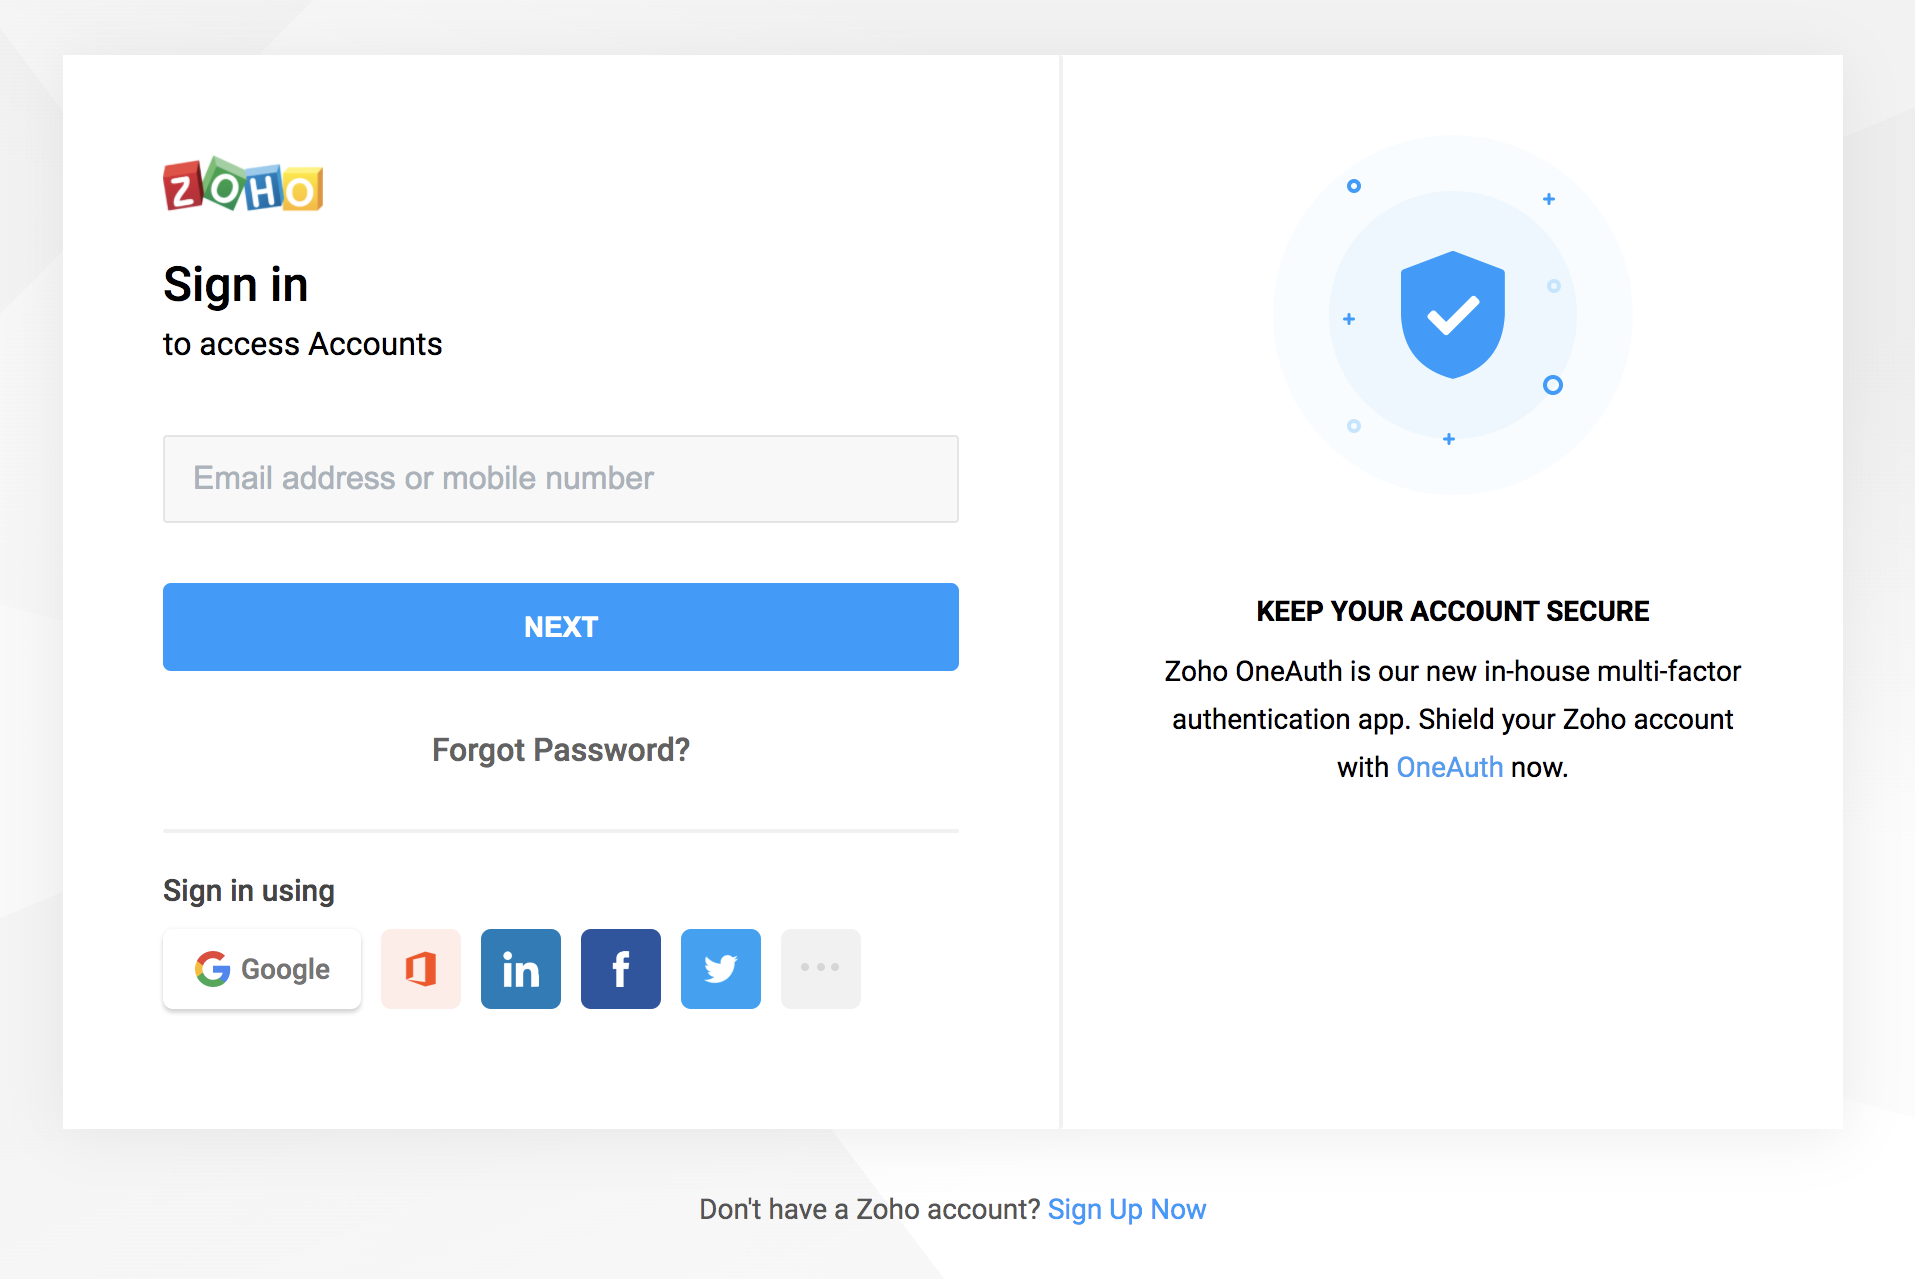
- The user clicks the Login with Zoho button on any third-party web-based application. The application redirects the user to the Zoho Login page, and the user enters the Zoho credentials.
- The web application redirects the user to the Zoho OAuth server with the required scope in the Accounts URL. With the Client ID generated in step 1, the Authorization URL in the browser, would be like this:
| client_id | The client ID string that you obtain from the above process |
| response_type | code |
| redirect_uri | One of the redirect URI obtained in above step |
| access_type | offline |
- In the result page, click Accept
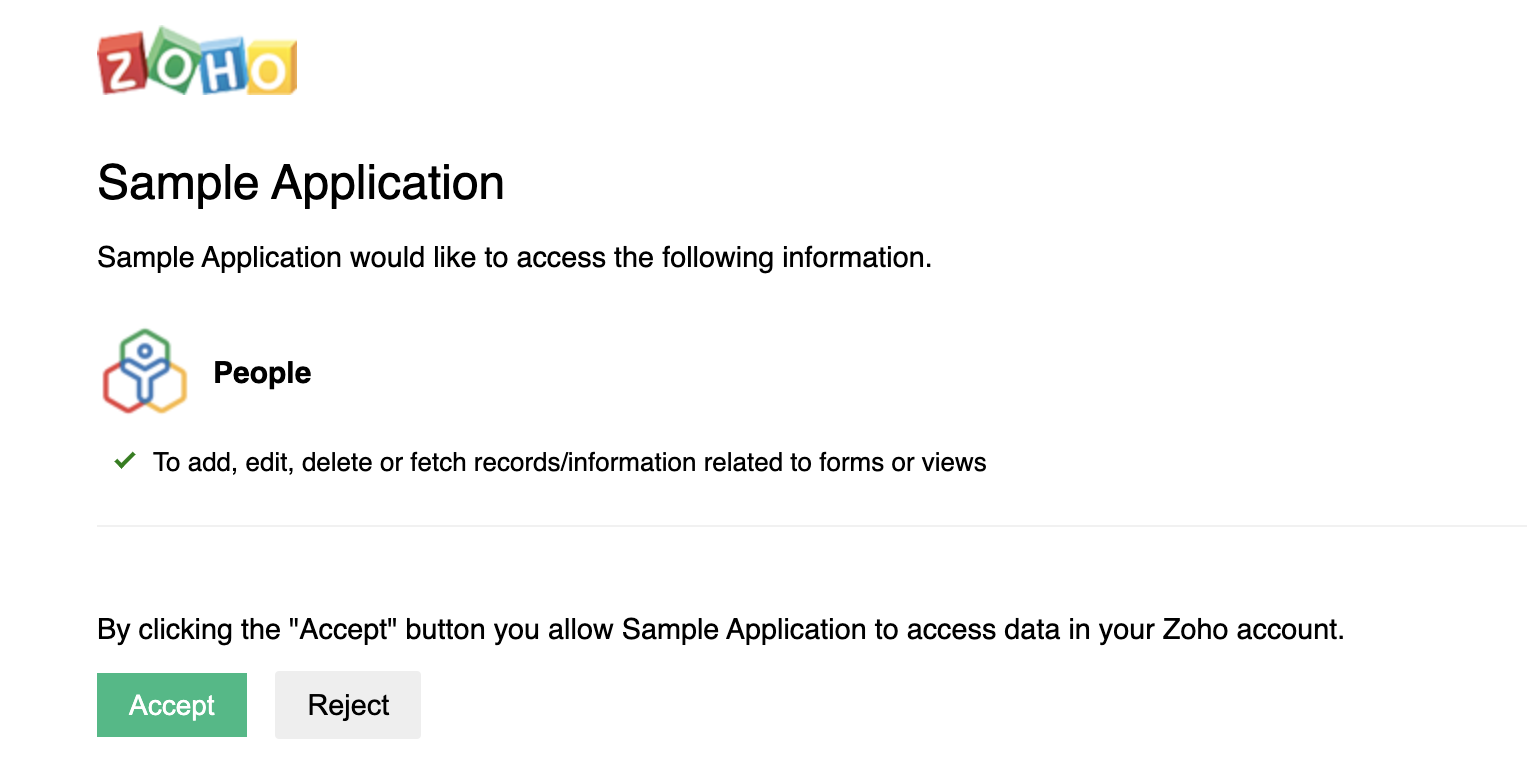
You will be redirect to the "redirect_uri" that you specified during registration of the app.
The URL of the page would be like this:
Sample :
- Note down the "code={grant_token}" parameter.
By default, refresh token can by attained in step 3, If a refresh token is required anytime, the below param can be passed when generating grant token
prompt=consent
Possible Errors
Self-Client option
Use this method to generate the organization-specific grant token if your application does not have a domain and a redirect URL.
You can also use this option when your application is a standalone server-side application performing a back-end job.
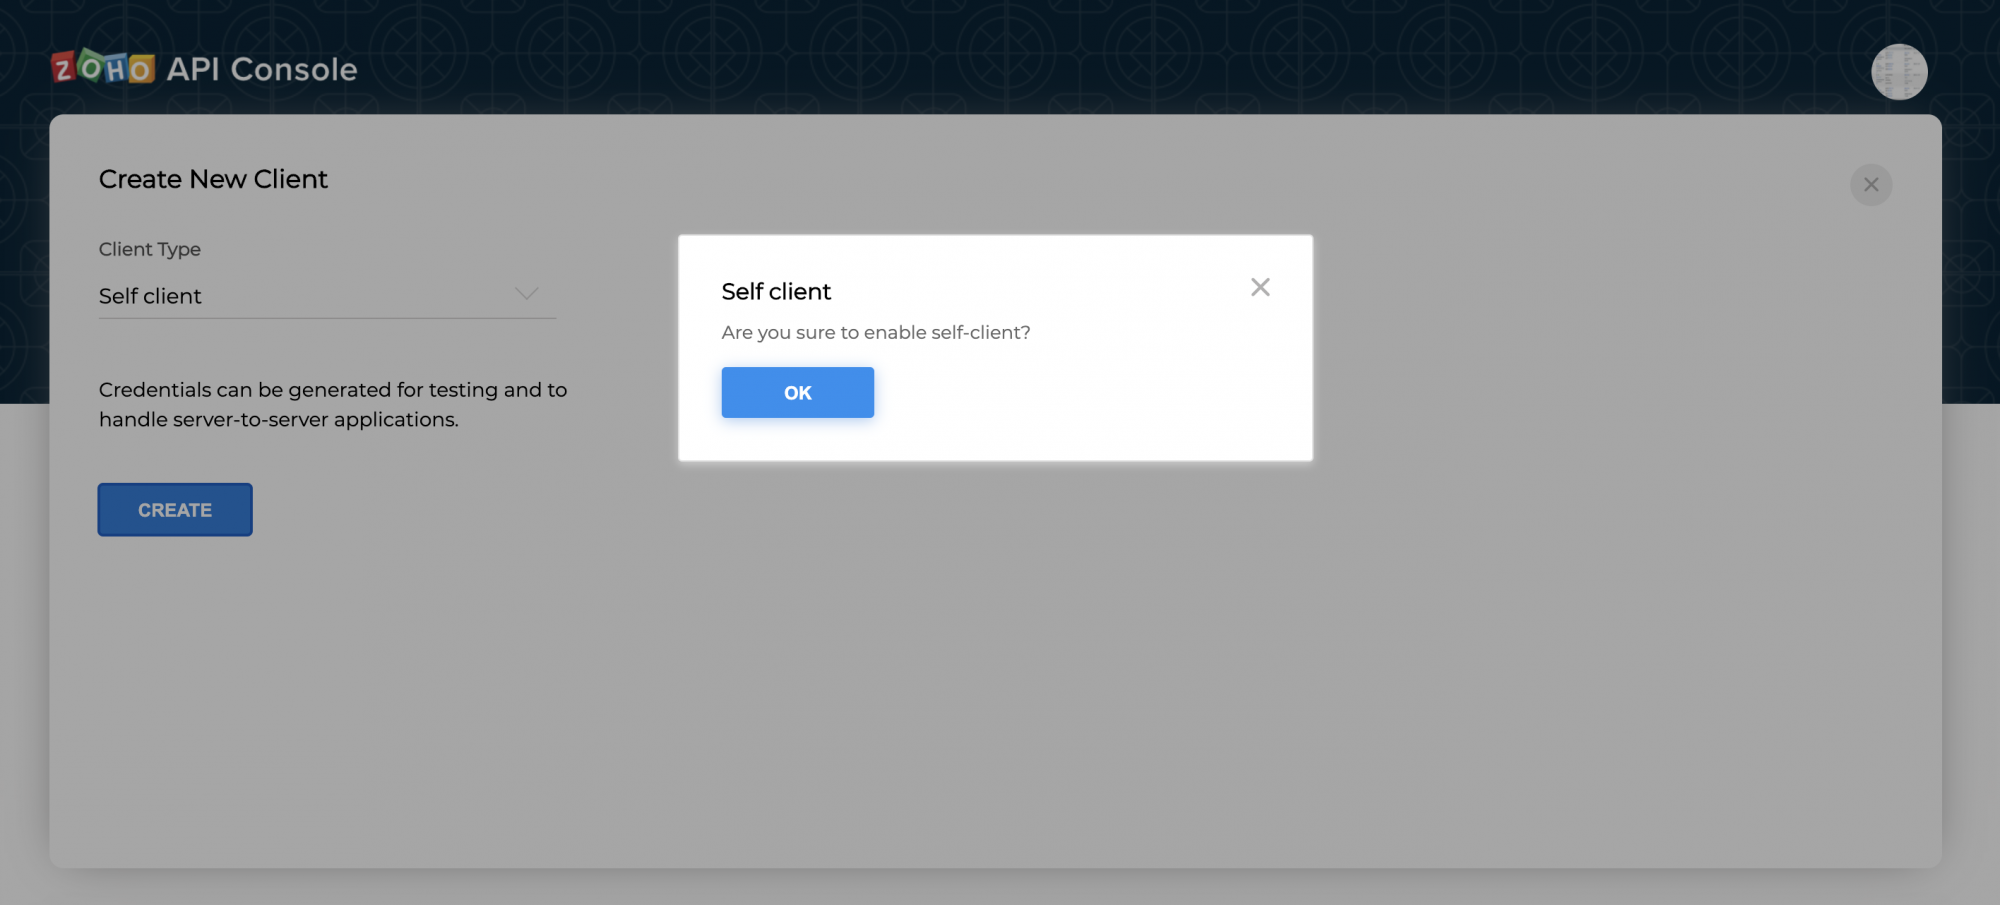
- Choose Self Client from the list of client types, and click Create Now.
- Click OK in the pop up to enable a self client for your account.
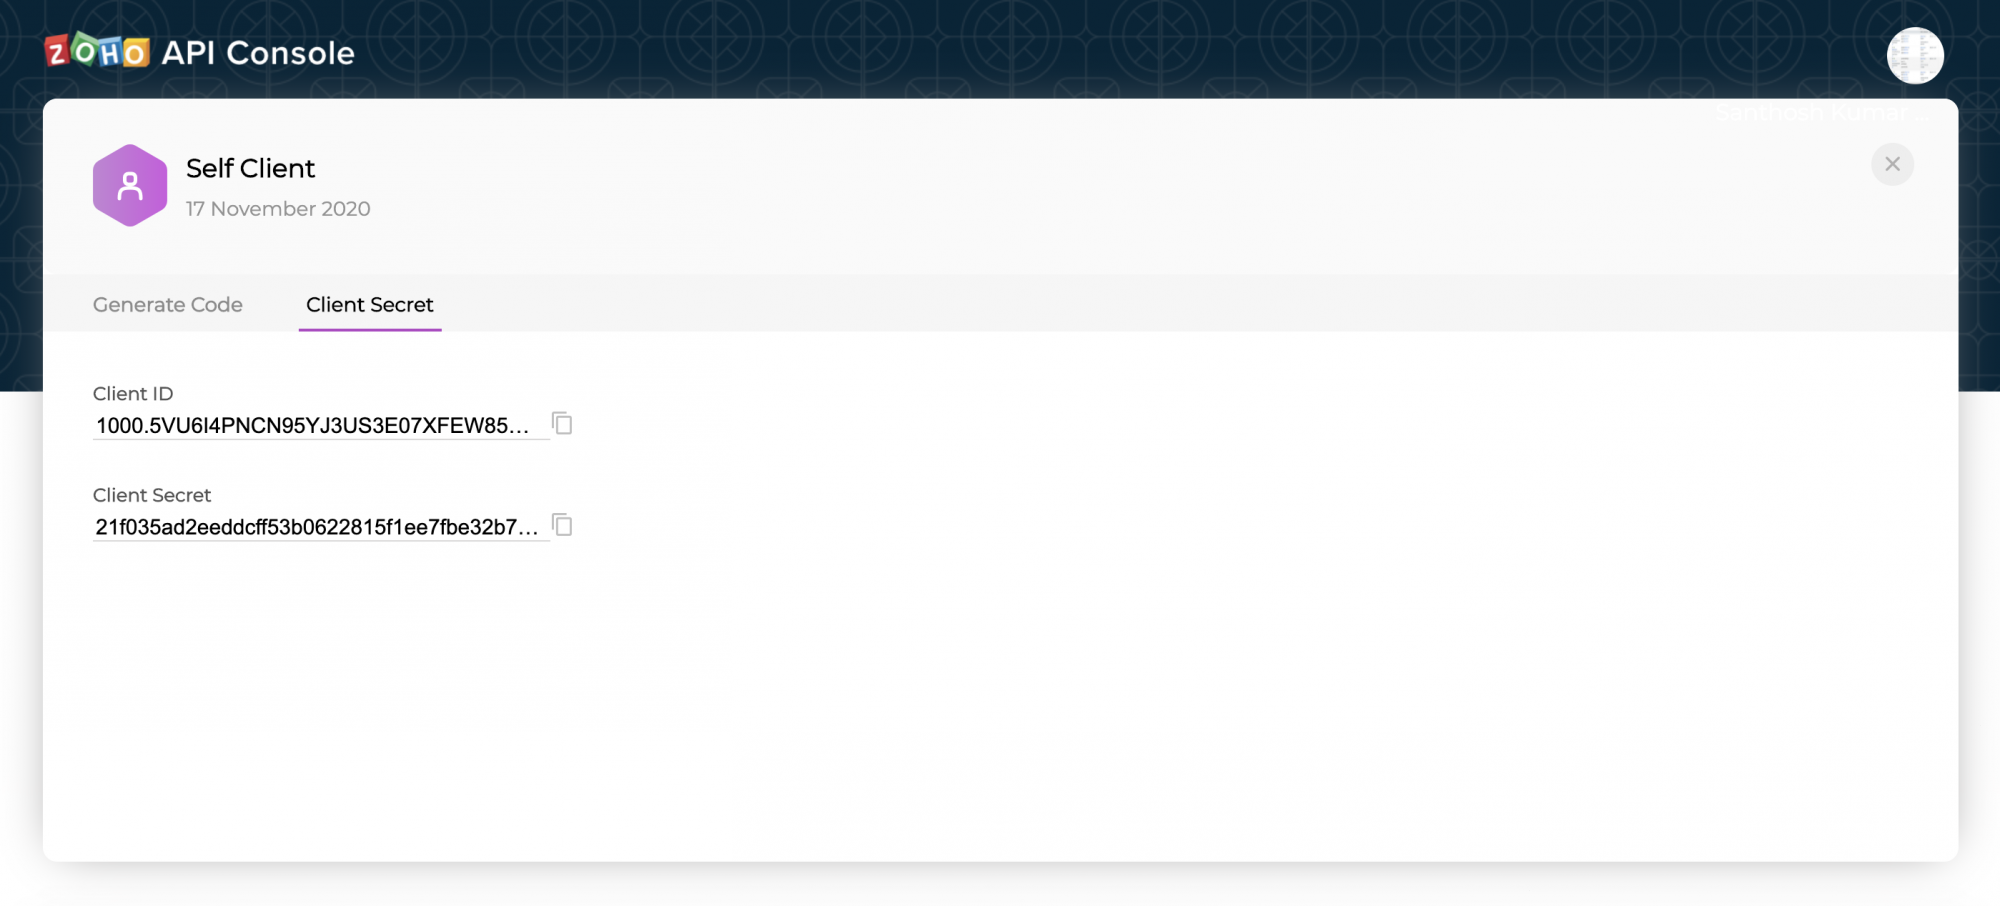
- Now, your client ID and client secret are displayed under the Client Secret tab.
- Click the Generate Code tab and enter the required scope separated by commas. Refer to our list of Scopes, for more details. The system throws an 'Enter a valid scope' error when you enter one or more incorrect scopes.
- Select the Time Duration for which the grant token is valid. Please note that after this time, the grant token expires.
- Enter a description and click Create.
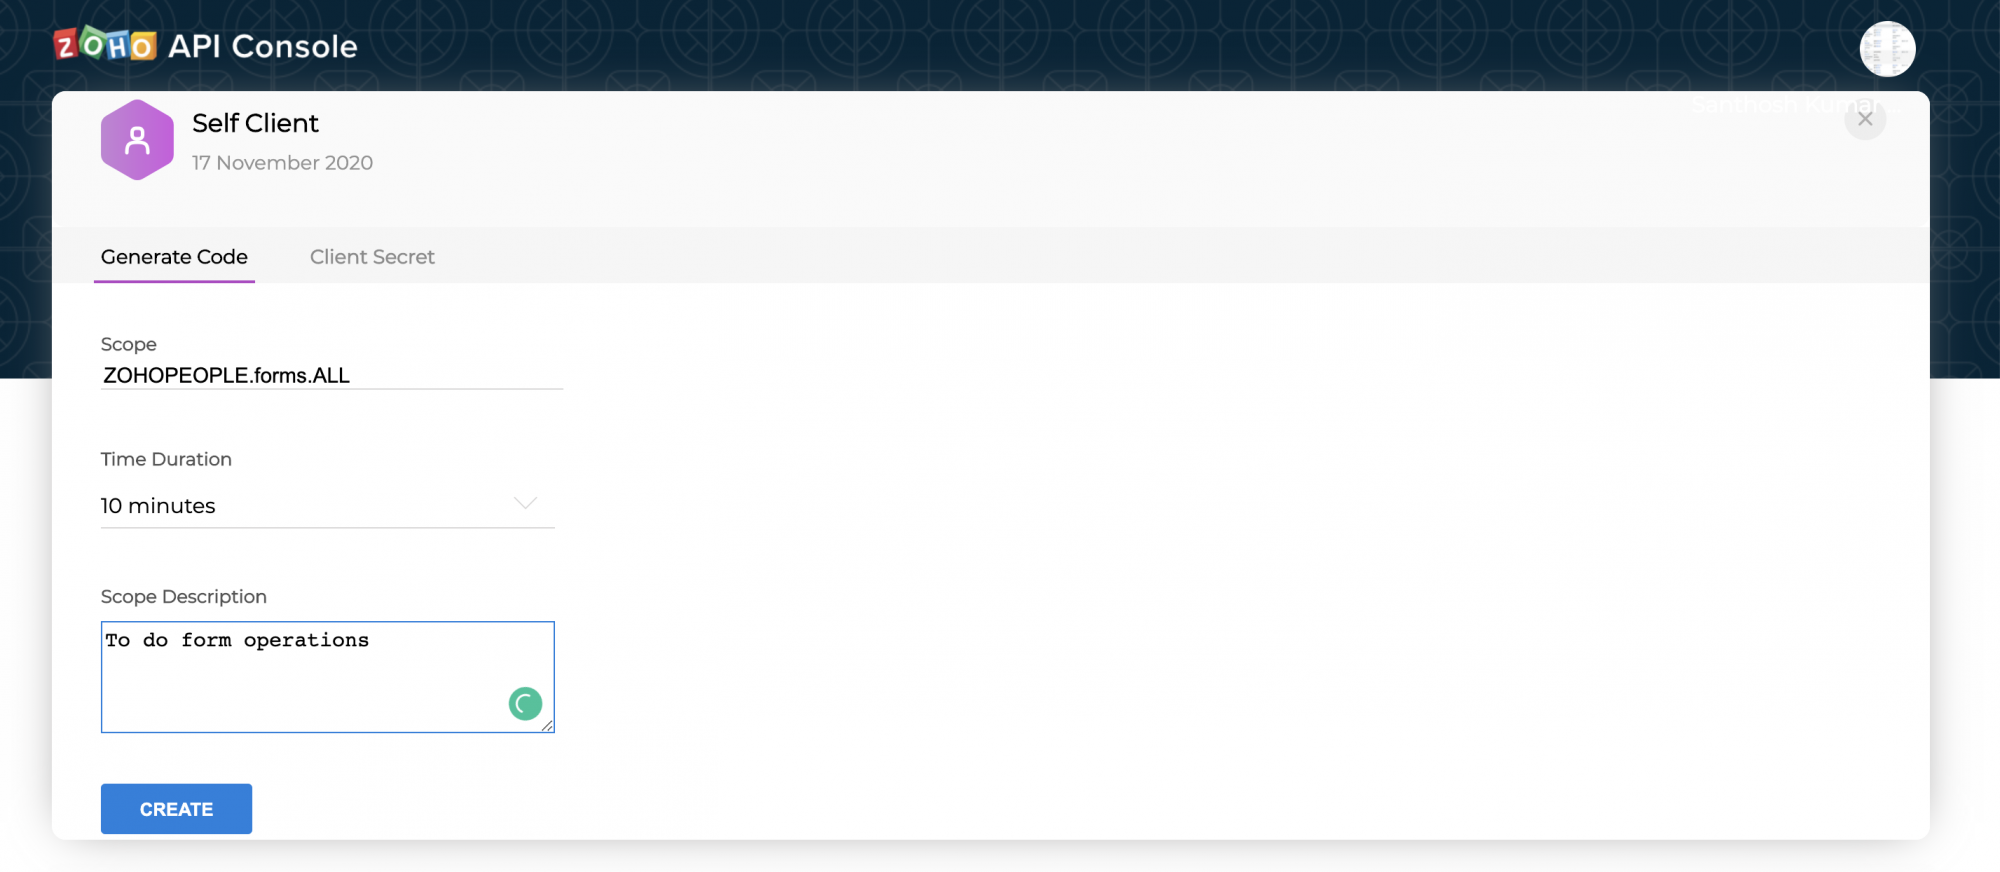
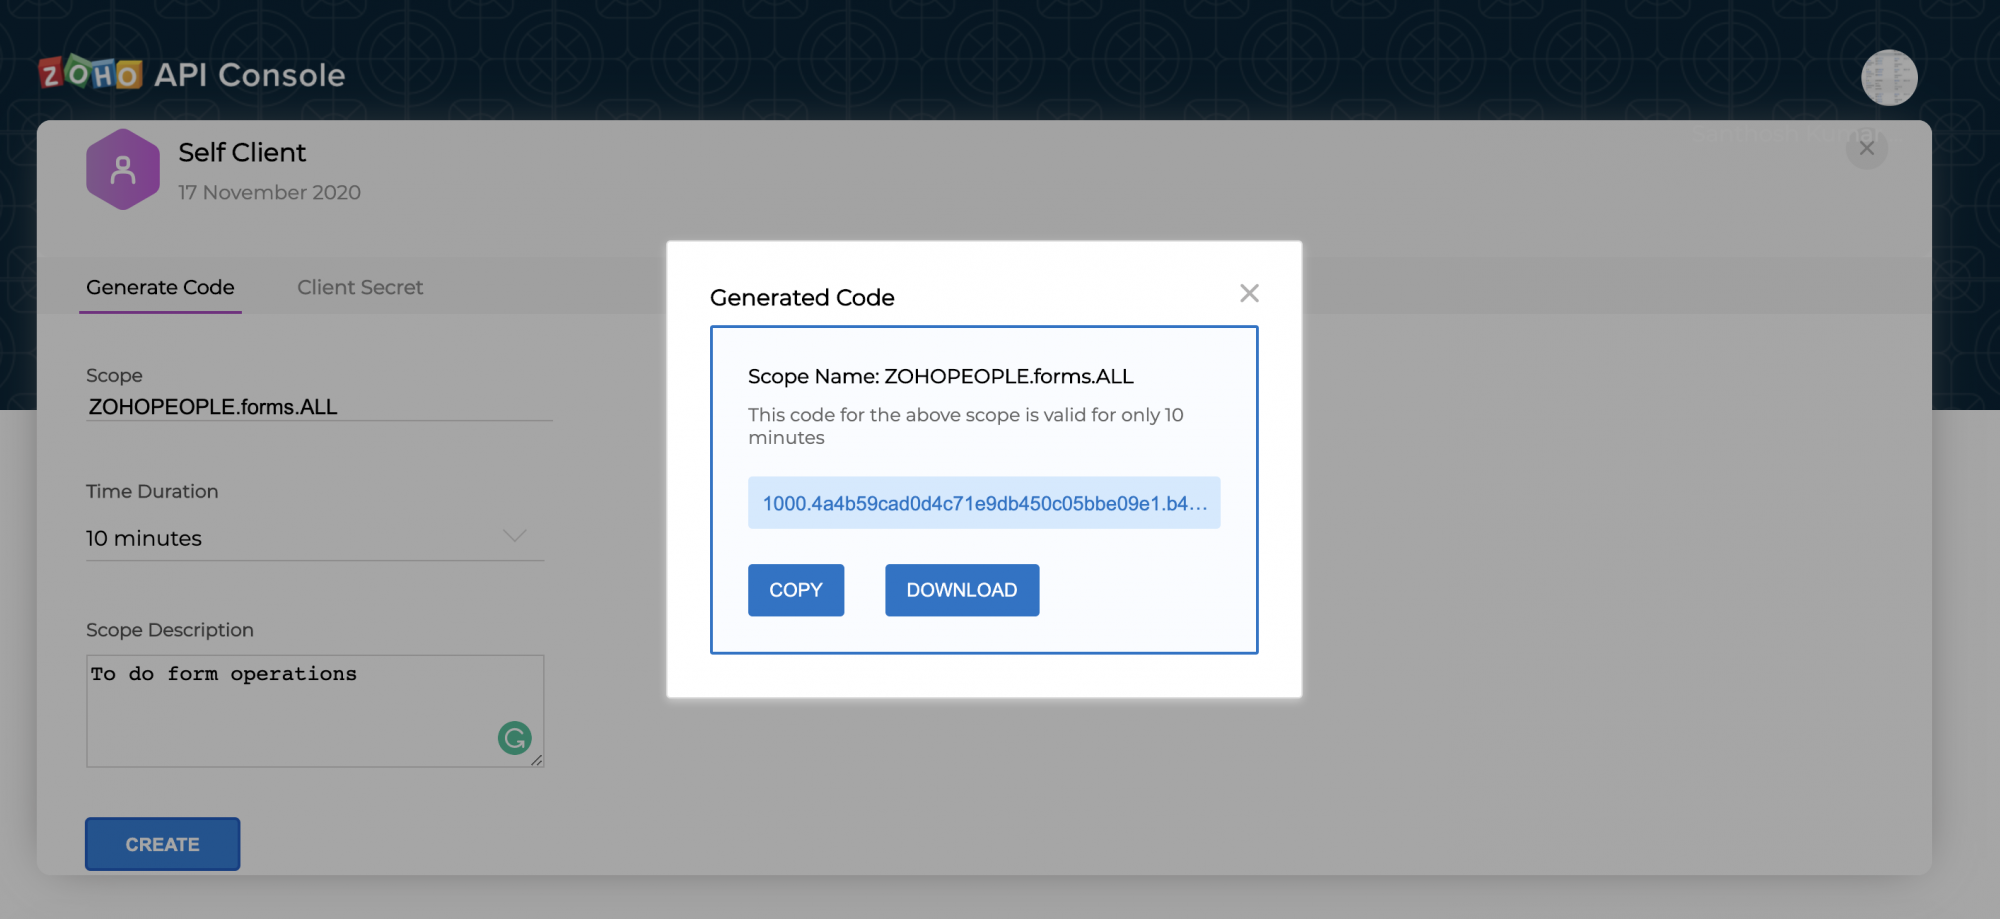
- The organization-specific grant token code for the specified scope is displayed. Copy the grant token.
Step 3: Generating Access Tokens and Refresh Tokens
OAuth2.0 requests are usually authenticated with an access token, which is passed as bearer token. To use this access token, you need to construct a normal HTTP request and include it in an Authorization header along with the value of Bearer.
You must use your domain-specific Zoho Accounts URL to generate access and refresh tokens. The following are the various domains and their corresponding accounts URLs.
- For US: https://accounts.zoho.com
- For AU: https://accounts.zoho.com.au
- For EU: https://accounts.zoho.eu
- For IN: https://accounts.zoho.in
- For CN: https://accounts.zoho.com.cn
- For JP: https://accounts.zoho.jp
If you have more than one organization, then the grant token generated will be specific to a particular organization, and the same applies to the access and refresh tokens generated using the grant token.
To generate access and refresh token:
Make a POST request with the following URL. Replace {Accounts_URL} with your domain-specific Zoho accounts URL when you make the request.
Request Parameter
| grant_type | Enter the value as "authorization_code". |
| client_id | Specify the client-id obtained from the connected app. |
| client_secret | Specify client-secret obtained from the connected app. |
| redirect_uri | Specify the Callback URL that you registered during the app registeration. |
| code | Enter the grant token generated from the previous step |
If the request is successful, you would receive the following:
Response Parameter
| access_token | Access token to access ZohoPeople APIs |
| refresh_token | Refresh token to obtain new access tokens. |
| expires_in | Time in seconds after which the access token expires. |
| api_domain | Domain name of the API, Use this domain in your requests to make API calls to Zoho People. |
| token_type | Type of token obtained. "Bearer" indicates this is an access token. |
This completes the authentication. Once your app receives the access token, send the token in your HTTP authorization header to Zoho People API with the value "Zoho-oauthtoken {access_token}" for each endpoint (for each request).
Each access token is valid for only an hour and can be used only for the operations defined in the scope.
A refresh token does not expire. Use it to refresh access tokens when they expire. For more details on the validity of the tokens, refer to Token Validity page.
Possible Errors
Step 4: Refresh Access Token
Access tokens expire after an hour of generation. To generate a new access token, use the refresh token you generated earlier.
You must use your domain-specific Zoho Accounts URL to refresh your access token.
- For US: https://accounts.zoho.com
- For AU: https://accounts.zoho.com.au
- For EU: https://accounts.zoho.eu
- For IN: https://accounts.zoho.in
- For CN: https://accounts.zoho.com.cn
- Make a POST request with the following URL:
- If the request is successful, you will receive the following output:
For applications with multiple organizations, the refresh tokens generated for one organization in an environment cannot be used for another organization. For instance, you cannot use the refresh token generated for an organization in the Production environment to generate access tokens for the organizations in the sandbox or developer accounts.
For information about the validity of the tokens, refer to the Token Validity page.
